Makeup gives you power; it grants you the ability not just to cover blemishes or paint your lids in color but to transform. This is never more true than it is with contouring. When you know how to contour with makeup correctly, you can sculpt your face and flatter your features any way you like.


Cream contour formulas blend beautifully on dry skin types, even when other products might cling to parched patches. Instead of a brush, try blending cream contour products with a makeup sponge for a natural, soft-focus effect.
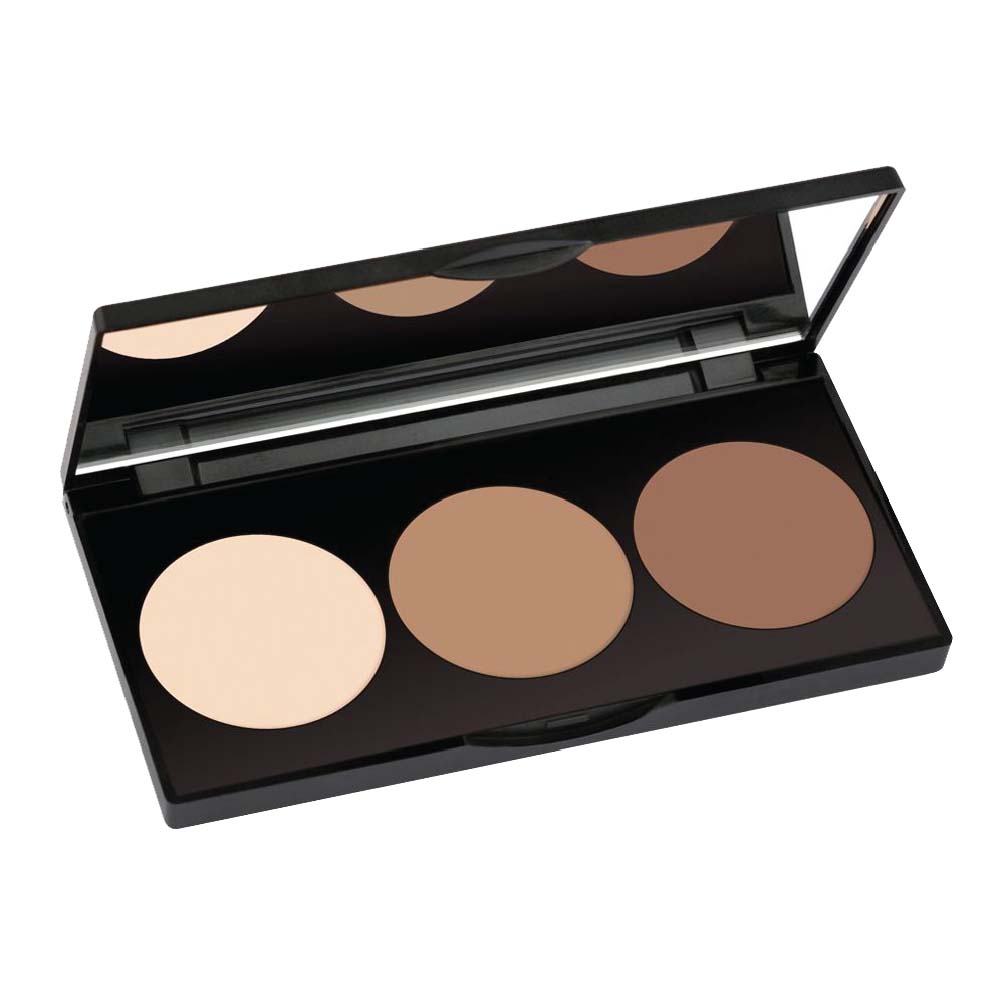
This tends to be great for oily skin types—they don’t slip and slide around on slick skin—and contouring face makeup is no exception. They’re also a good choice for beginners, as they’re buildable and easy to control, especially if you apply them with a good brush.
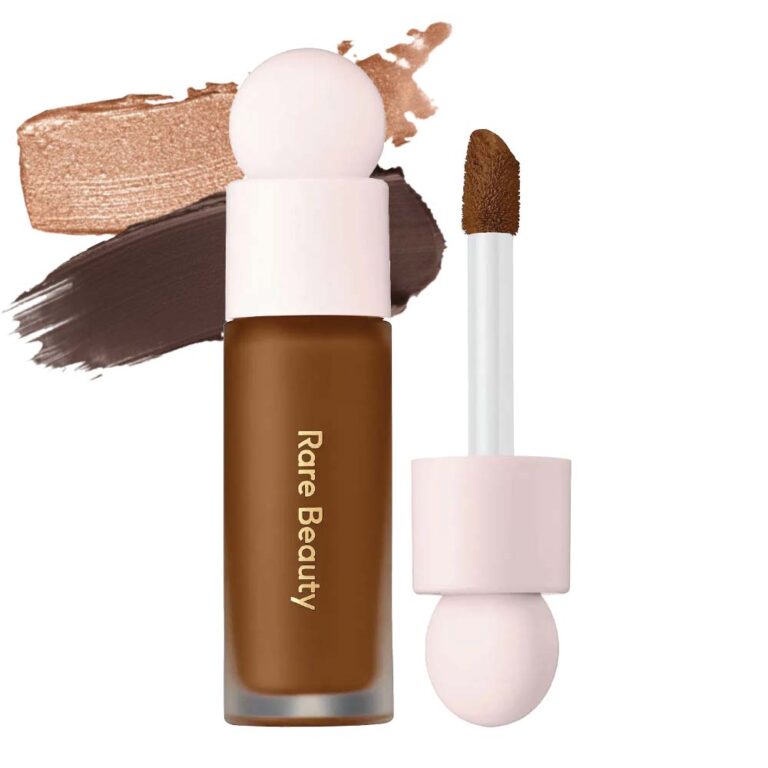
This is great option for a natural-looking finish. These high-impact formulas are ideal for pairing with liquid foundations since they have similar consistencies. The result is a more seamless makeup look. An additional benefit is that it’s easy to be quite precise with your application.
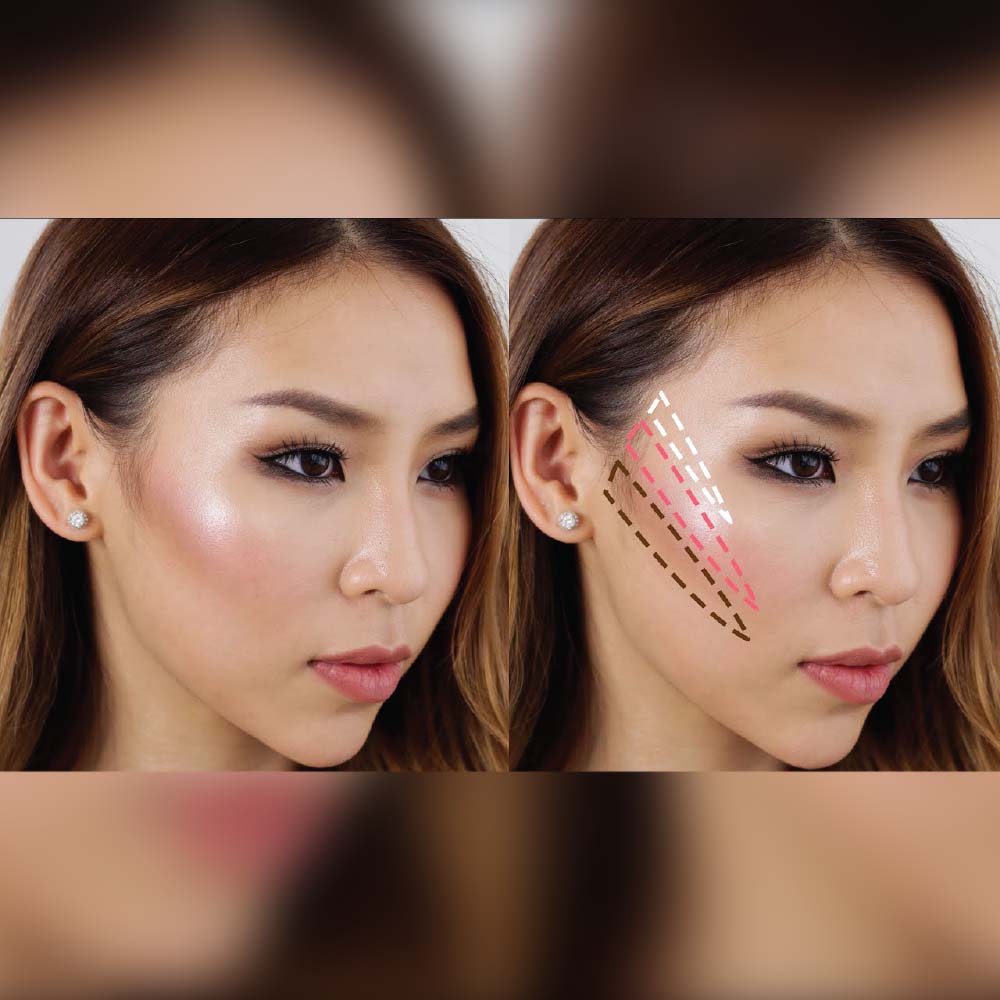
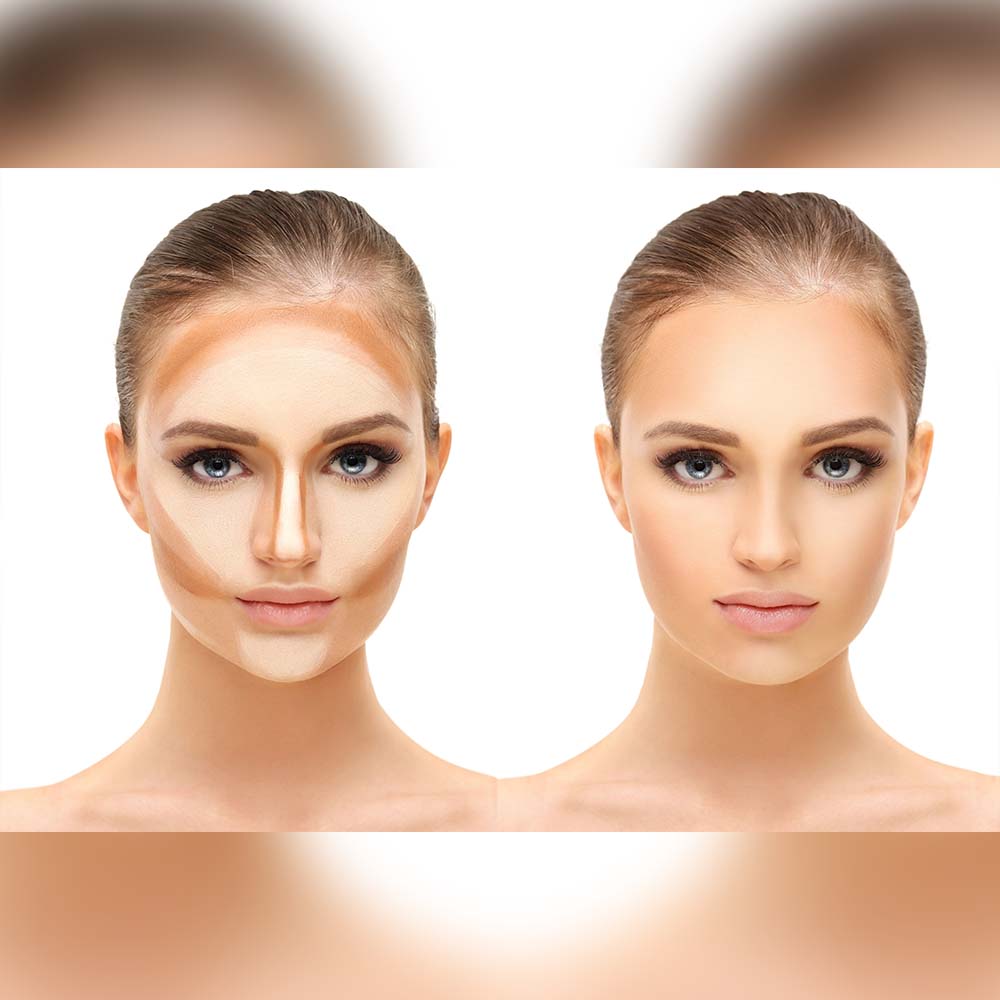
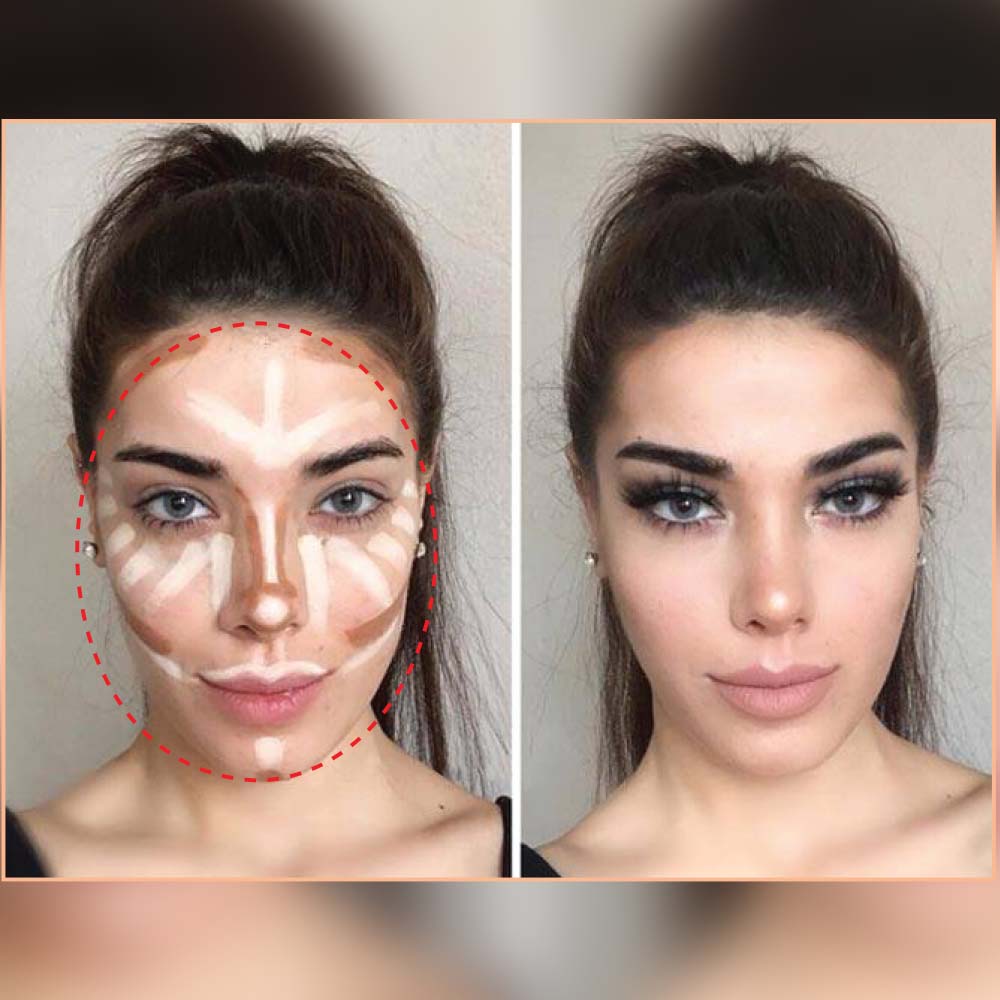
The bulk of learning to contour is understanding where to contour. You can sculpt any spots you want to appear smaller or more symmetrical, but, generally, there are three key zones to hit: your cheekbones, nose, and the perimeter of your face.

Next up: your nose contour. How you contour this feature largely depends on the result you’re seeking. Noses can be contoured to look thinner or wider. You can define the tip or create a more round-looking end, broaden the bridge or narrow the root, and so on. This is something we encourage you to experiment with—see what effect suits you best.
With that said, we’re happy to share the most popular nose contouring method: Use your contour product to draw parallel vertical lines down the bridge of your nose. The closer the lines, the slimmer the nose will look. Blend out your contour, making sure to keep the center of the nose free of color for a sculpted finish.
Our final contouring spot is your forehead and jawline. Applying face contour makeup around the edges of your face helps give definition to your face shape.
Apply your contour product along your hairline first, focusing on your temples. Next, draw a line starting at the bottom of your ear and bring it down, stopping right before the center of your chin. Repeat on the other side of your face. Finally, blend out until smooth.
Oval face shapes are almost equal in length and width. They’re also characterized by slightly curved edges.
Follow the classic contour method, applying product in a “3” shape, hitting your temples, cheekbones, and jawline
Because your forehead and chin are already narrow, try using a lighter hand when defining these areas
Highlight your cheekbones, chin, and nose to balance the dimension you’ve created
Round things out with a bit of blush on the apples of your cheeks

If this is you, your cheekbones are prominent, and your forehead is wider than your chin, which may be more angular or pointed.
Contour your forehead, starting at the center, right along your hairline and sweep down toward your temples
Continue the contour at your temples, bringing it down to the hollows of your cheeks
Don’t forget to add highlighter to your cheekbones, the sides of your jawline, and the center of your nose

Square faces appear beautifully chiseled, with equal length and width accompanied by angular edges.
Find the hollows of your cheeks (use the fish-face trick), then apply contour
Apply contour to your temples in curved, rather than straight, lines for a softer effect
Highlight the tops of your cheeks and the center of your forehead for a bit of glow.