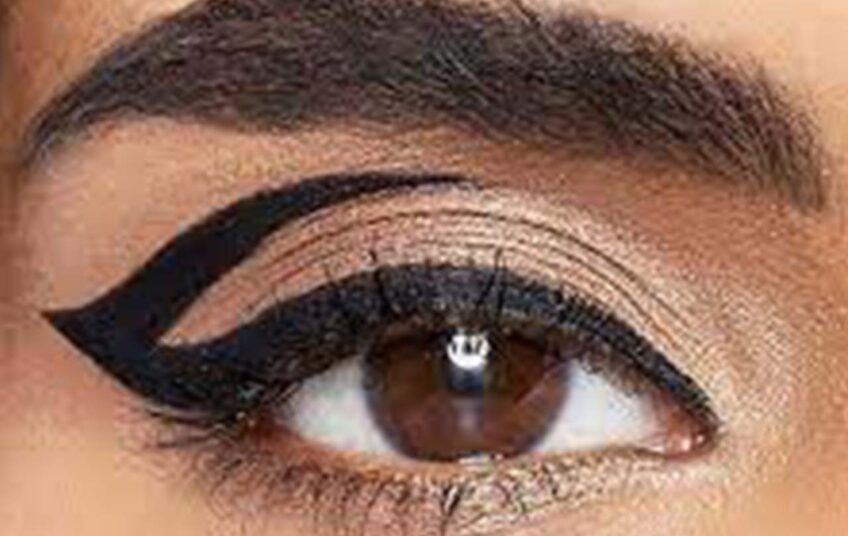
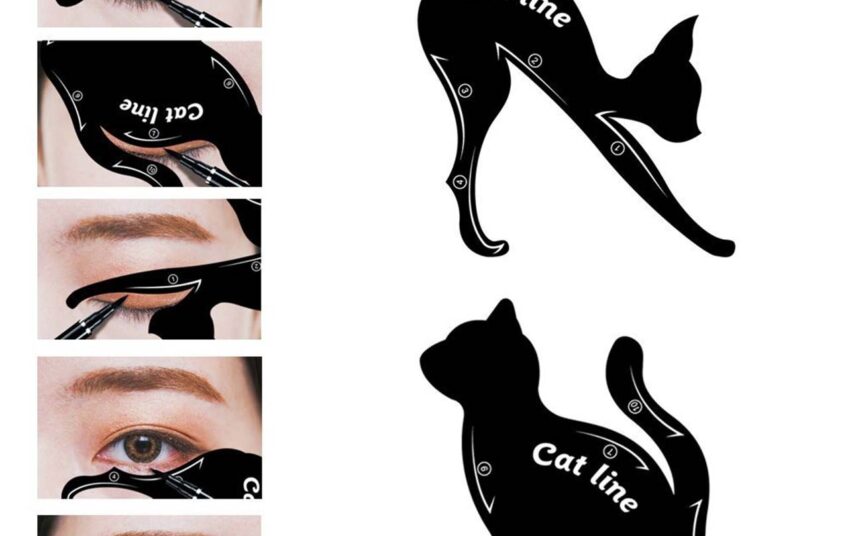
Among the long list of essential makeup skills, learning how to do your eyeliner is definitely up there! A killer wing is a complete game-changer: it instantly lifts your eye and makes them look SO much bigger. But done incorrectly, it can make your eyes look tired – thank you, next!
Luckily, there are tons of hacks to help you along the journey from beginner to pro as quickly as possible. Here are some tips to make you pro for the next occasion:
Tip #1: Find The Right Tool:
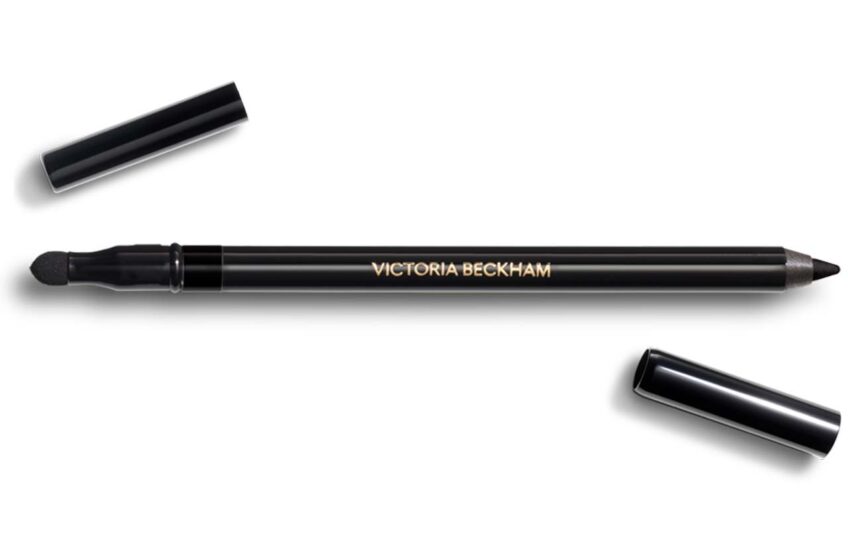
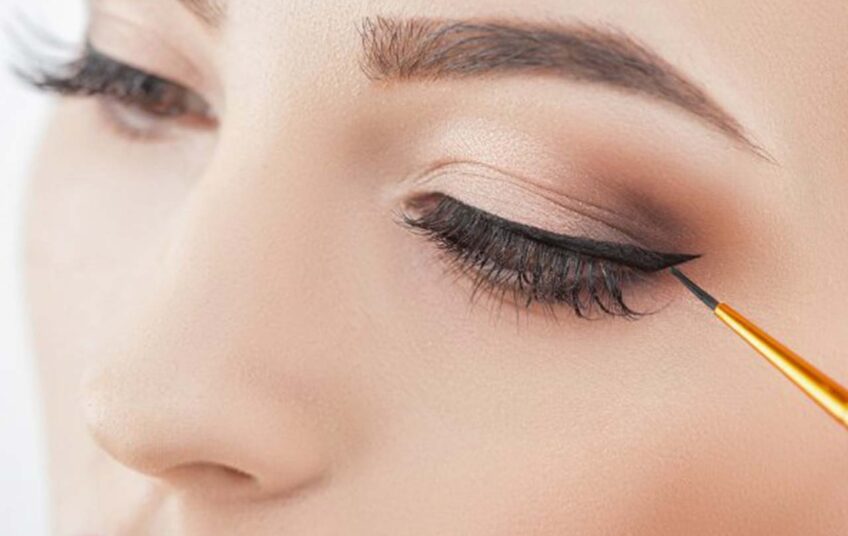
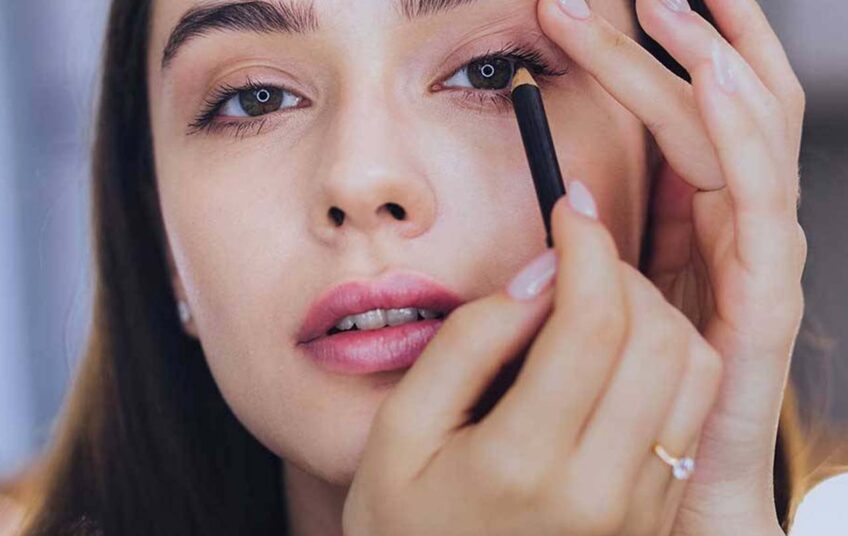
When it comes to eyeliner, there are so many different formulas and applicator tools to choose from. Each type of liner has its own set of advantages and disadvantages, so finding the right tool for your skill level and desired look is crucial. If you’re a newbie to the liner world, a pen is the easiest tool to use.
Tip #2: Get into Position:
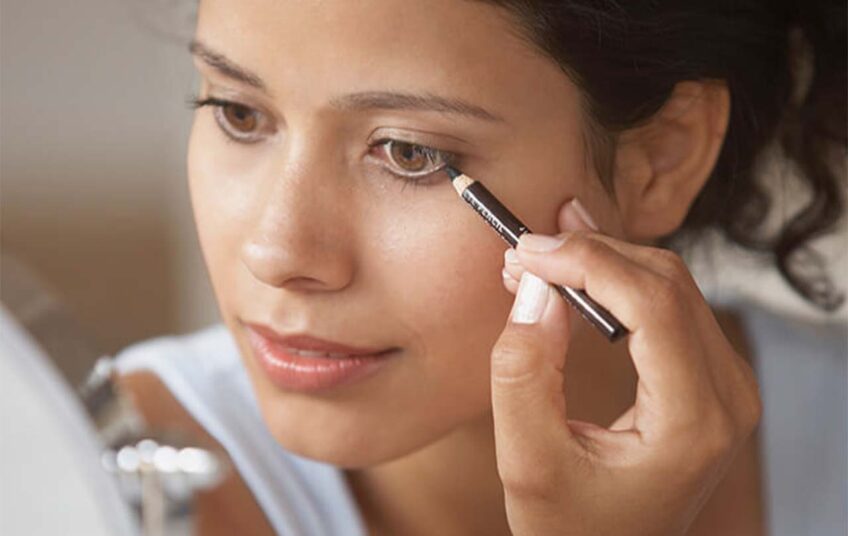
Positioning yourself correctly before you start your liner can completely determine the end result. First, grab a handheld mirror (even a magnifying mirror!): this will allow you to get up close and personal with your eye so you can see what you’re doing. Hold it slightly below the eye so that when you’re doing your liner, your lashes are down – it makes the process easier. Then, to steady yourself, place your elbow (of the hand you’re using to apply the liner) on a table or surface. If your hand is shaky, tense your toes to steady yourself – we know it sounds crazy, but it actually works!
Tip #5: Outline The Shape Of The Wing:
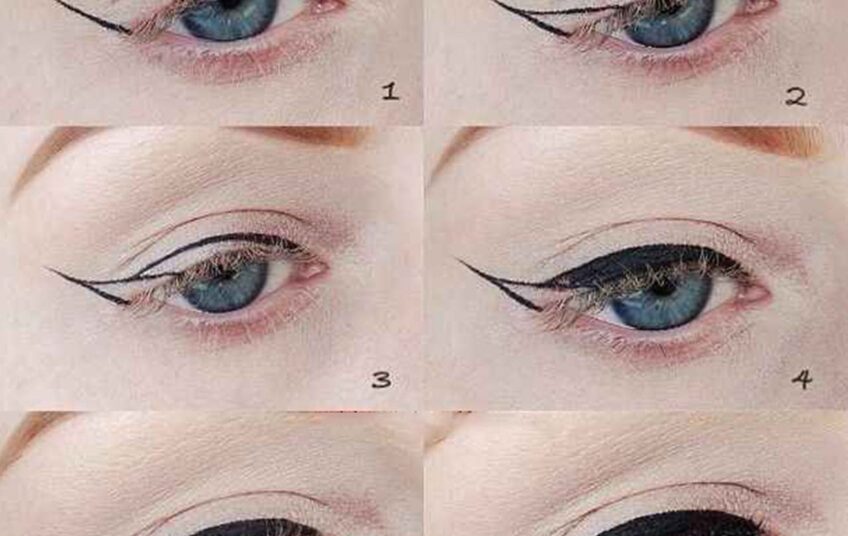
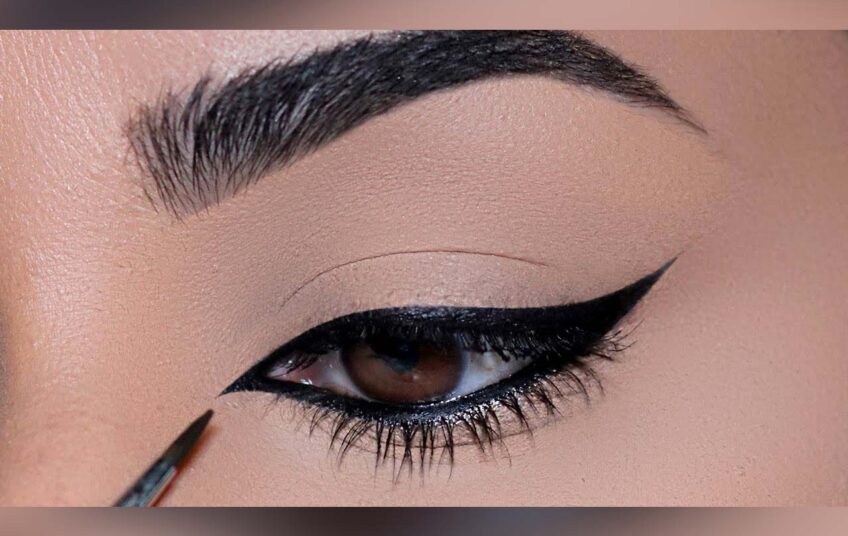
Instead of gradually thickening the width of your wing, create the outline of the shape and then fill it in. We actually like to begin by drawing both wing shapes before working on the lash line or inner corner, as this will help you ensure the wings are symmetrical in width and angled in the same direction.
Tip #6: Grab a Post-it:
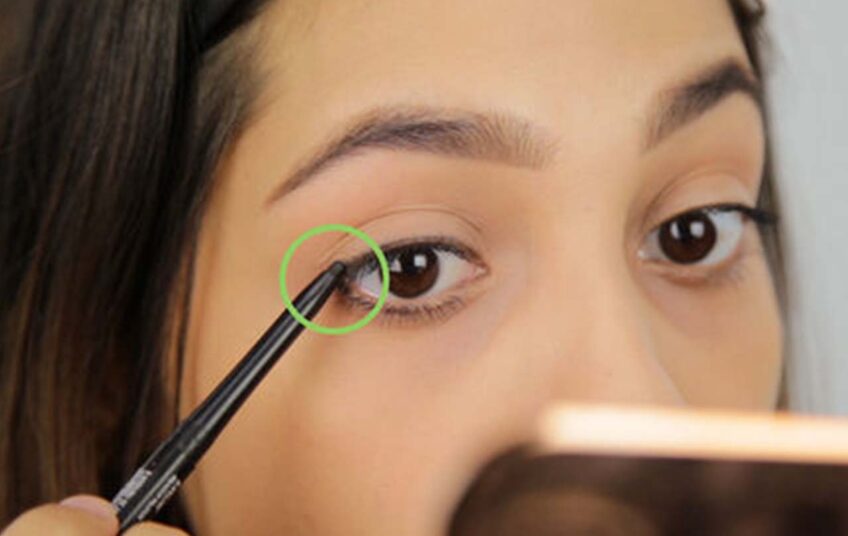
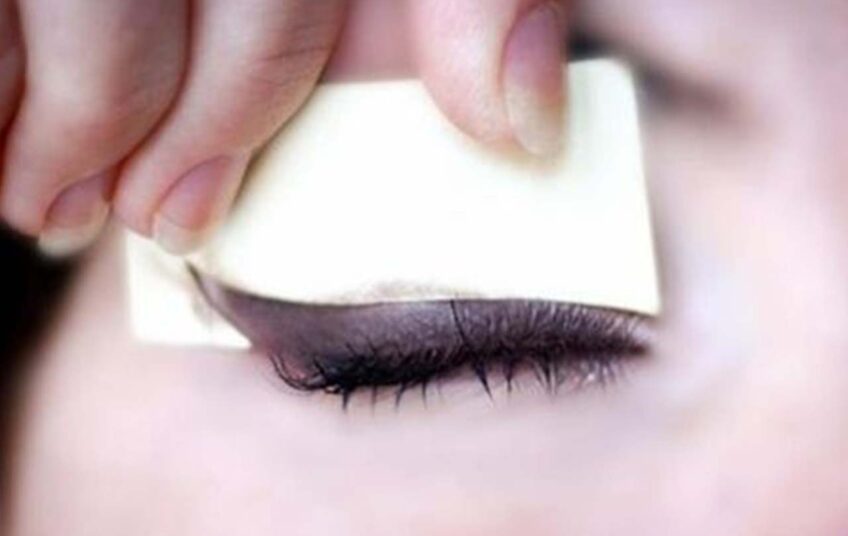
One of the favorite liner hacks is using a post-it to get a clean, straight wing with the right angle! It’s so simple and makes the whole process SO much easier. Start by placing the post-it edge along the lower lash line and angle it, so it meets near the tail end of your brow. Use this edge as a guide to create your wing. Wait for the liner to set, then slowly peel away the post-it. Next, draw along your lashline to meet your wing.
Tip #7: Find the Right Wing for Your Eye Shape:
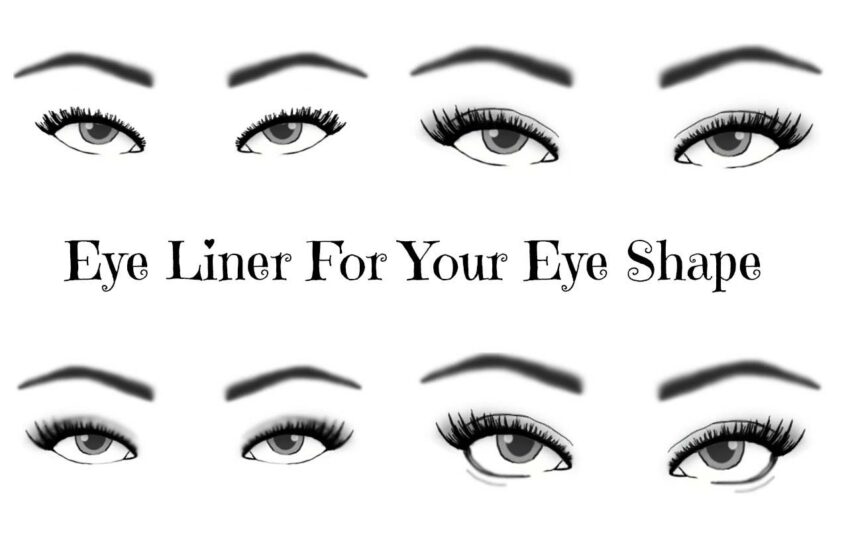
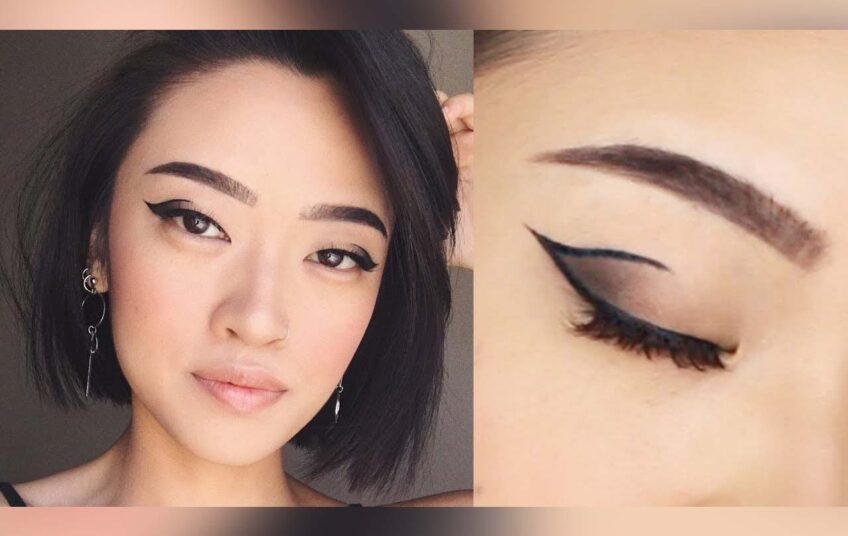
One of the most important rules when it comes to applying winged eyeliner is getting the angle of the wing right. However, this is different for everyone, as we all have our own unique eye shapes. For example, to accentuate round eyes, you can create the illusion of added width by adding a bold wing to the outer corners. If you have a hooded lid, then the type of wing you create will be very different to someone who has deep-set eyes. Play around with different angles, wing shapes and sizes, and wing placements to find the shape that you feel sexiest in.
Tip #8: Set your Liner:
Most liners are not intensely black, so to achieve a super matte black effect, set your liner with a powder or pencil liner. This will help it stay in place all day long and fill in any areas where the pigment isn’t as intense. Simply use a sharpened pencil or a black eyeshadow with a flat angled brush and pack the shadow over the liquid liner.
Tip #9: Try Tight Lining:
Tight Lining your waterline on your upper lashes is another crucial step to achieving the perfect liner look. It helps create the illusion of thicker lashes and adds drama. Avoid going too far in and apply the liner to the center only, so the liner won’t smudge or run. You can also use a nude pencil along the lower lash line to open up the eye.

